How-To · Technique · Beginner
Focusing with a Bahtinov Mask
A simple star mask that turns "is this in focus?" from a guess into an unambiguous yes or no.
A Bahtinov mask is a flat cap, cut with a pattern of slits, that fits over the front of your telescope or lens. Point at a bright star and it turns "is this actually in focus?" from a squinting guess into an unambiguous yes or no.
What it actually does
The mask splits incoming light into three groups through three sets of parallel slits — one running straight, and two angled a small amount either side of it. Each group diffracts the star's light into its own spike. Line all three spikes up and you're in focus; nothing else to interpret.

Reading the pattern
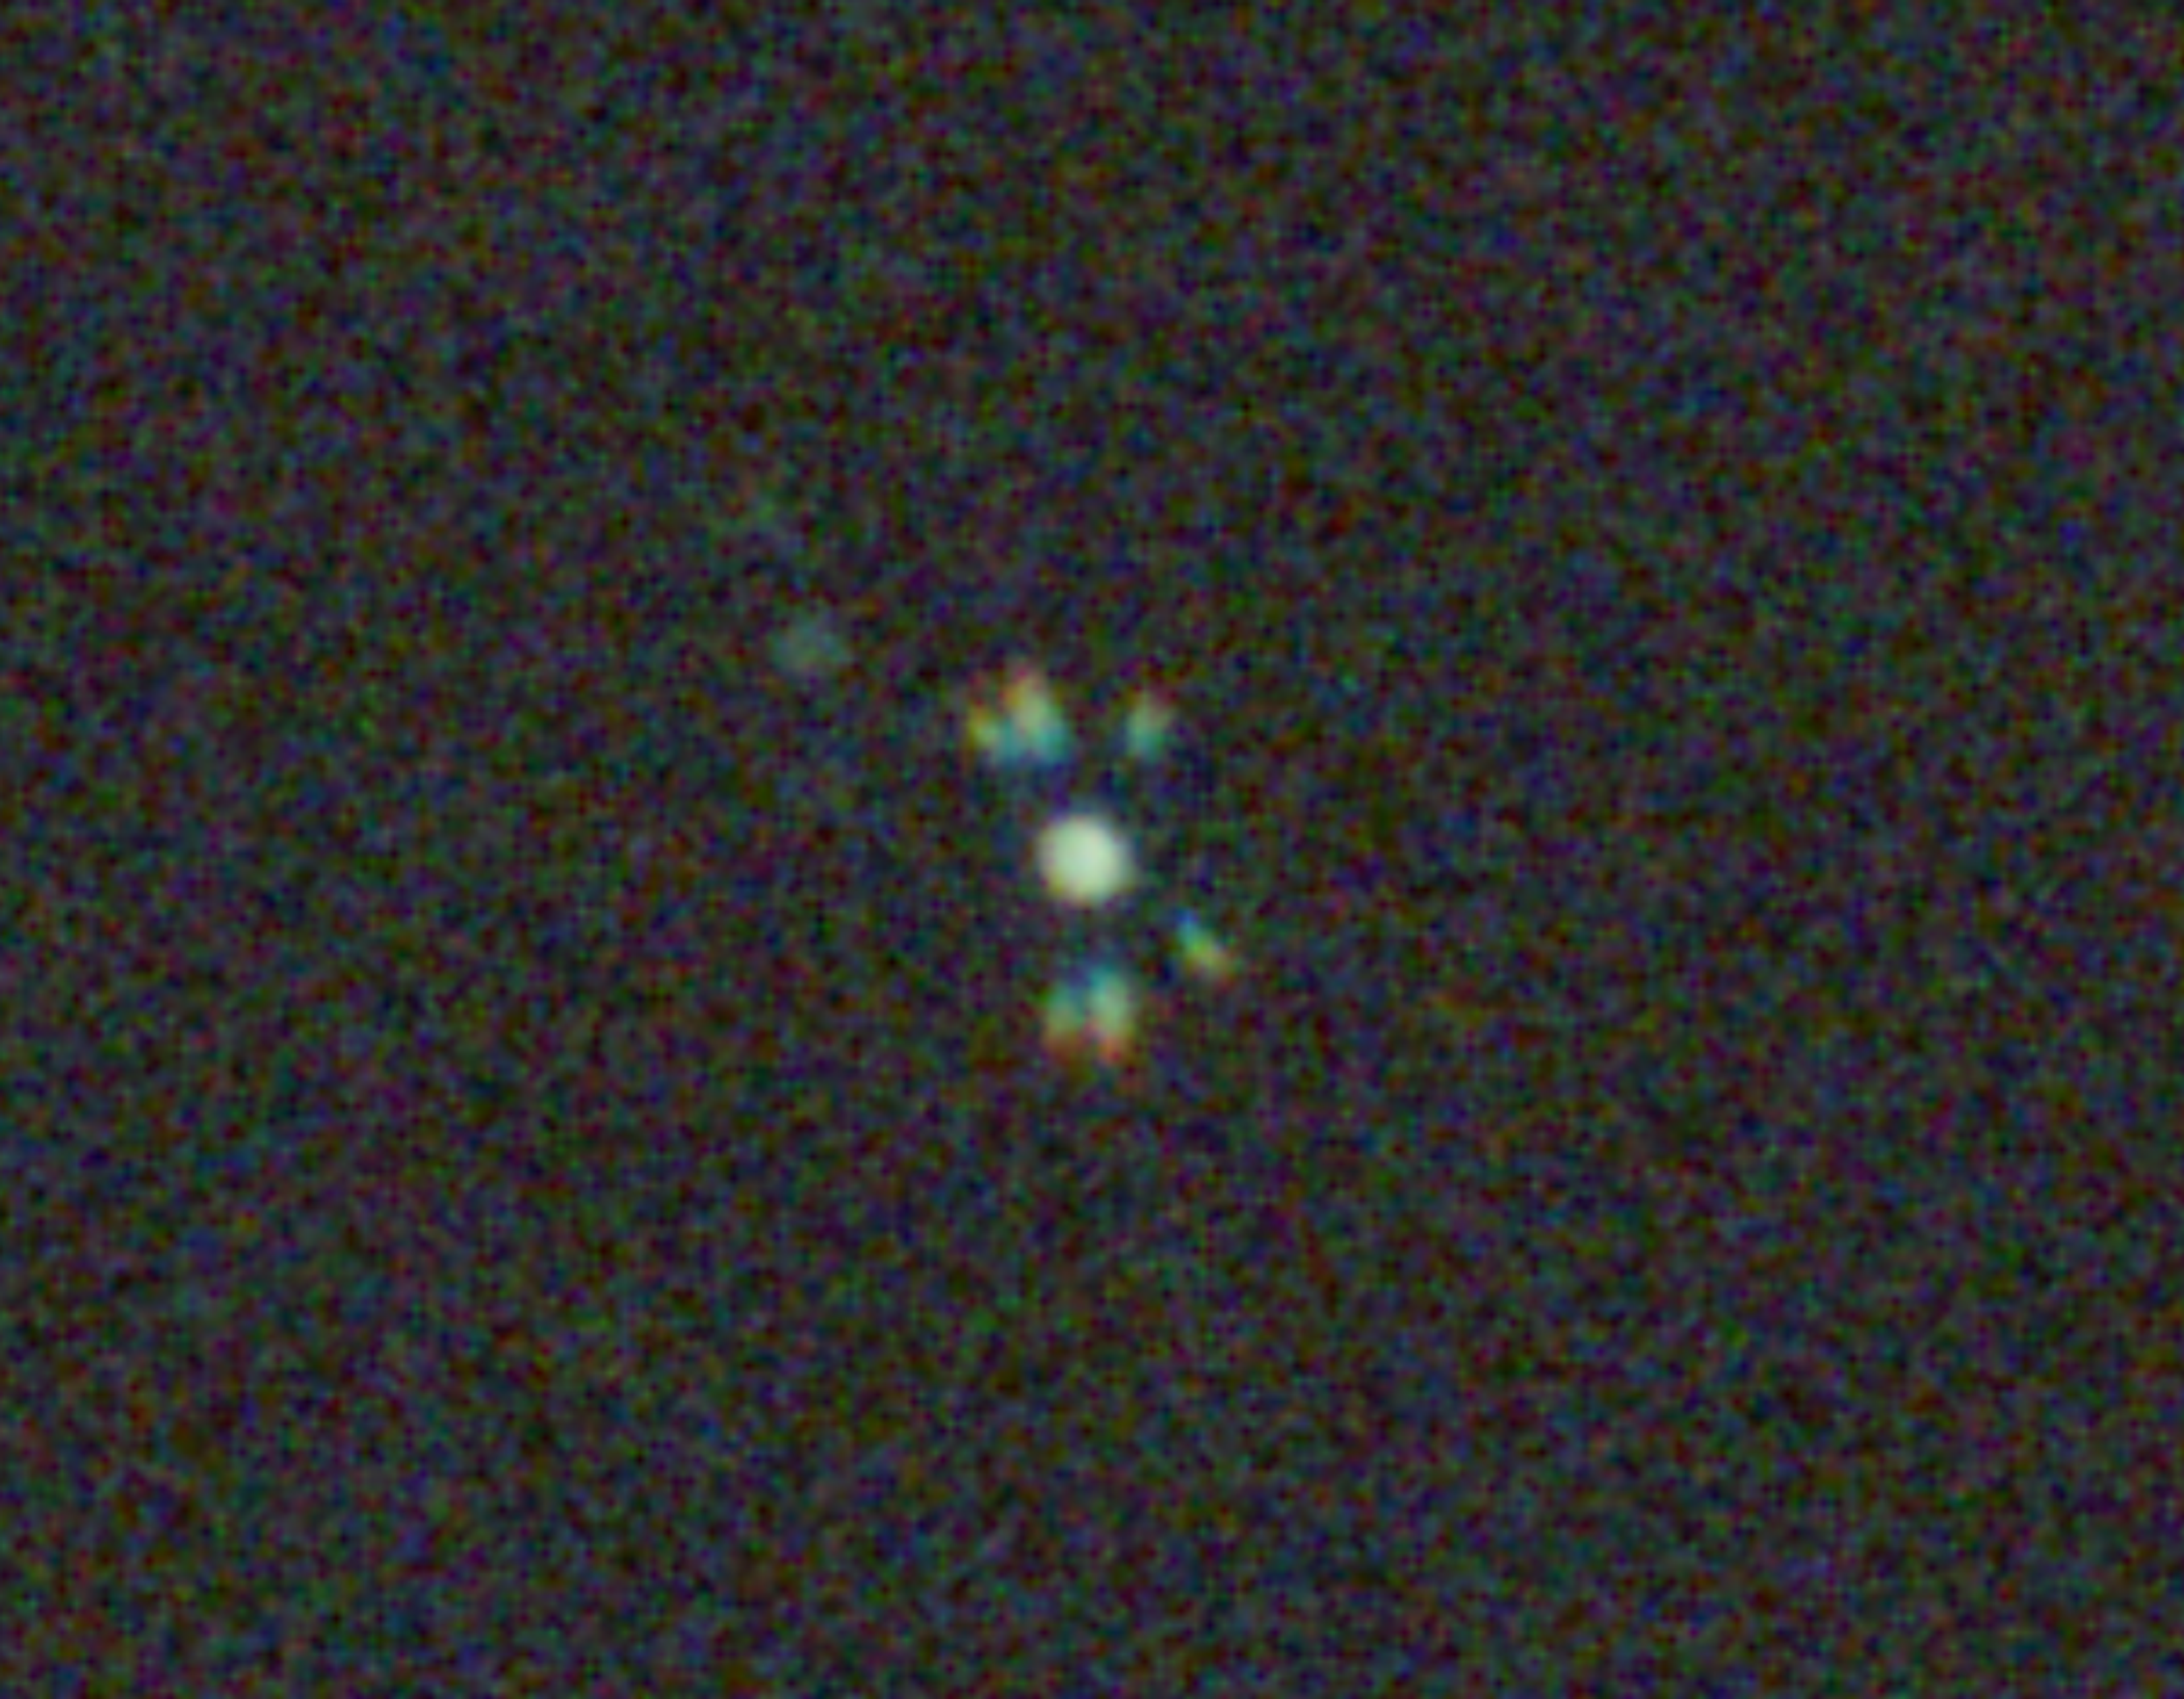
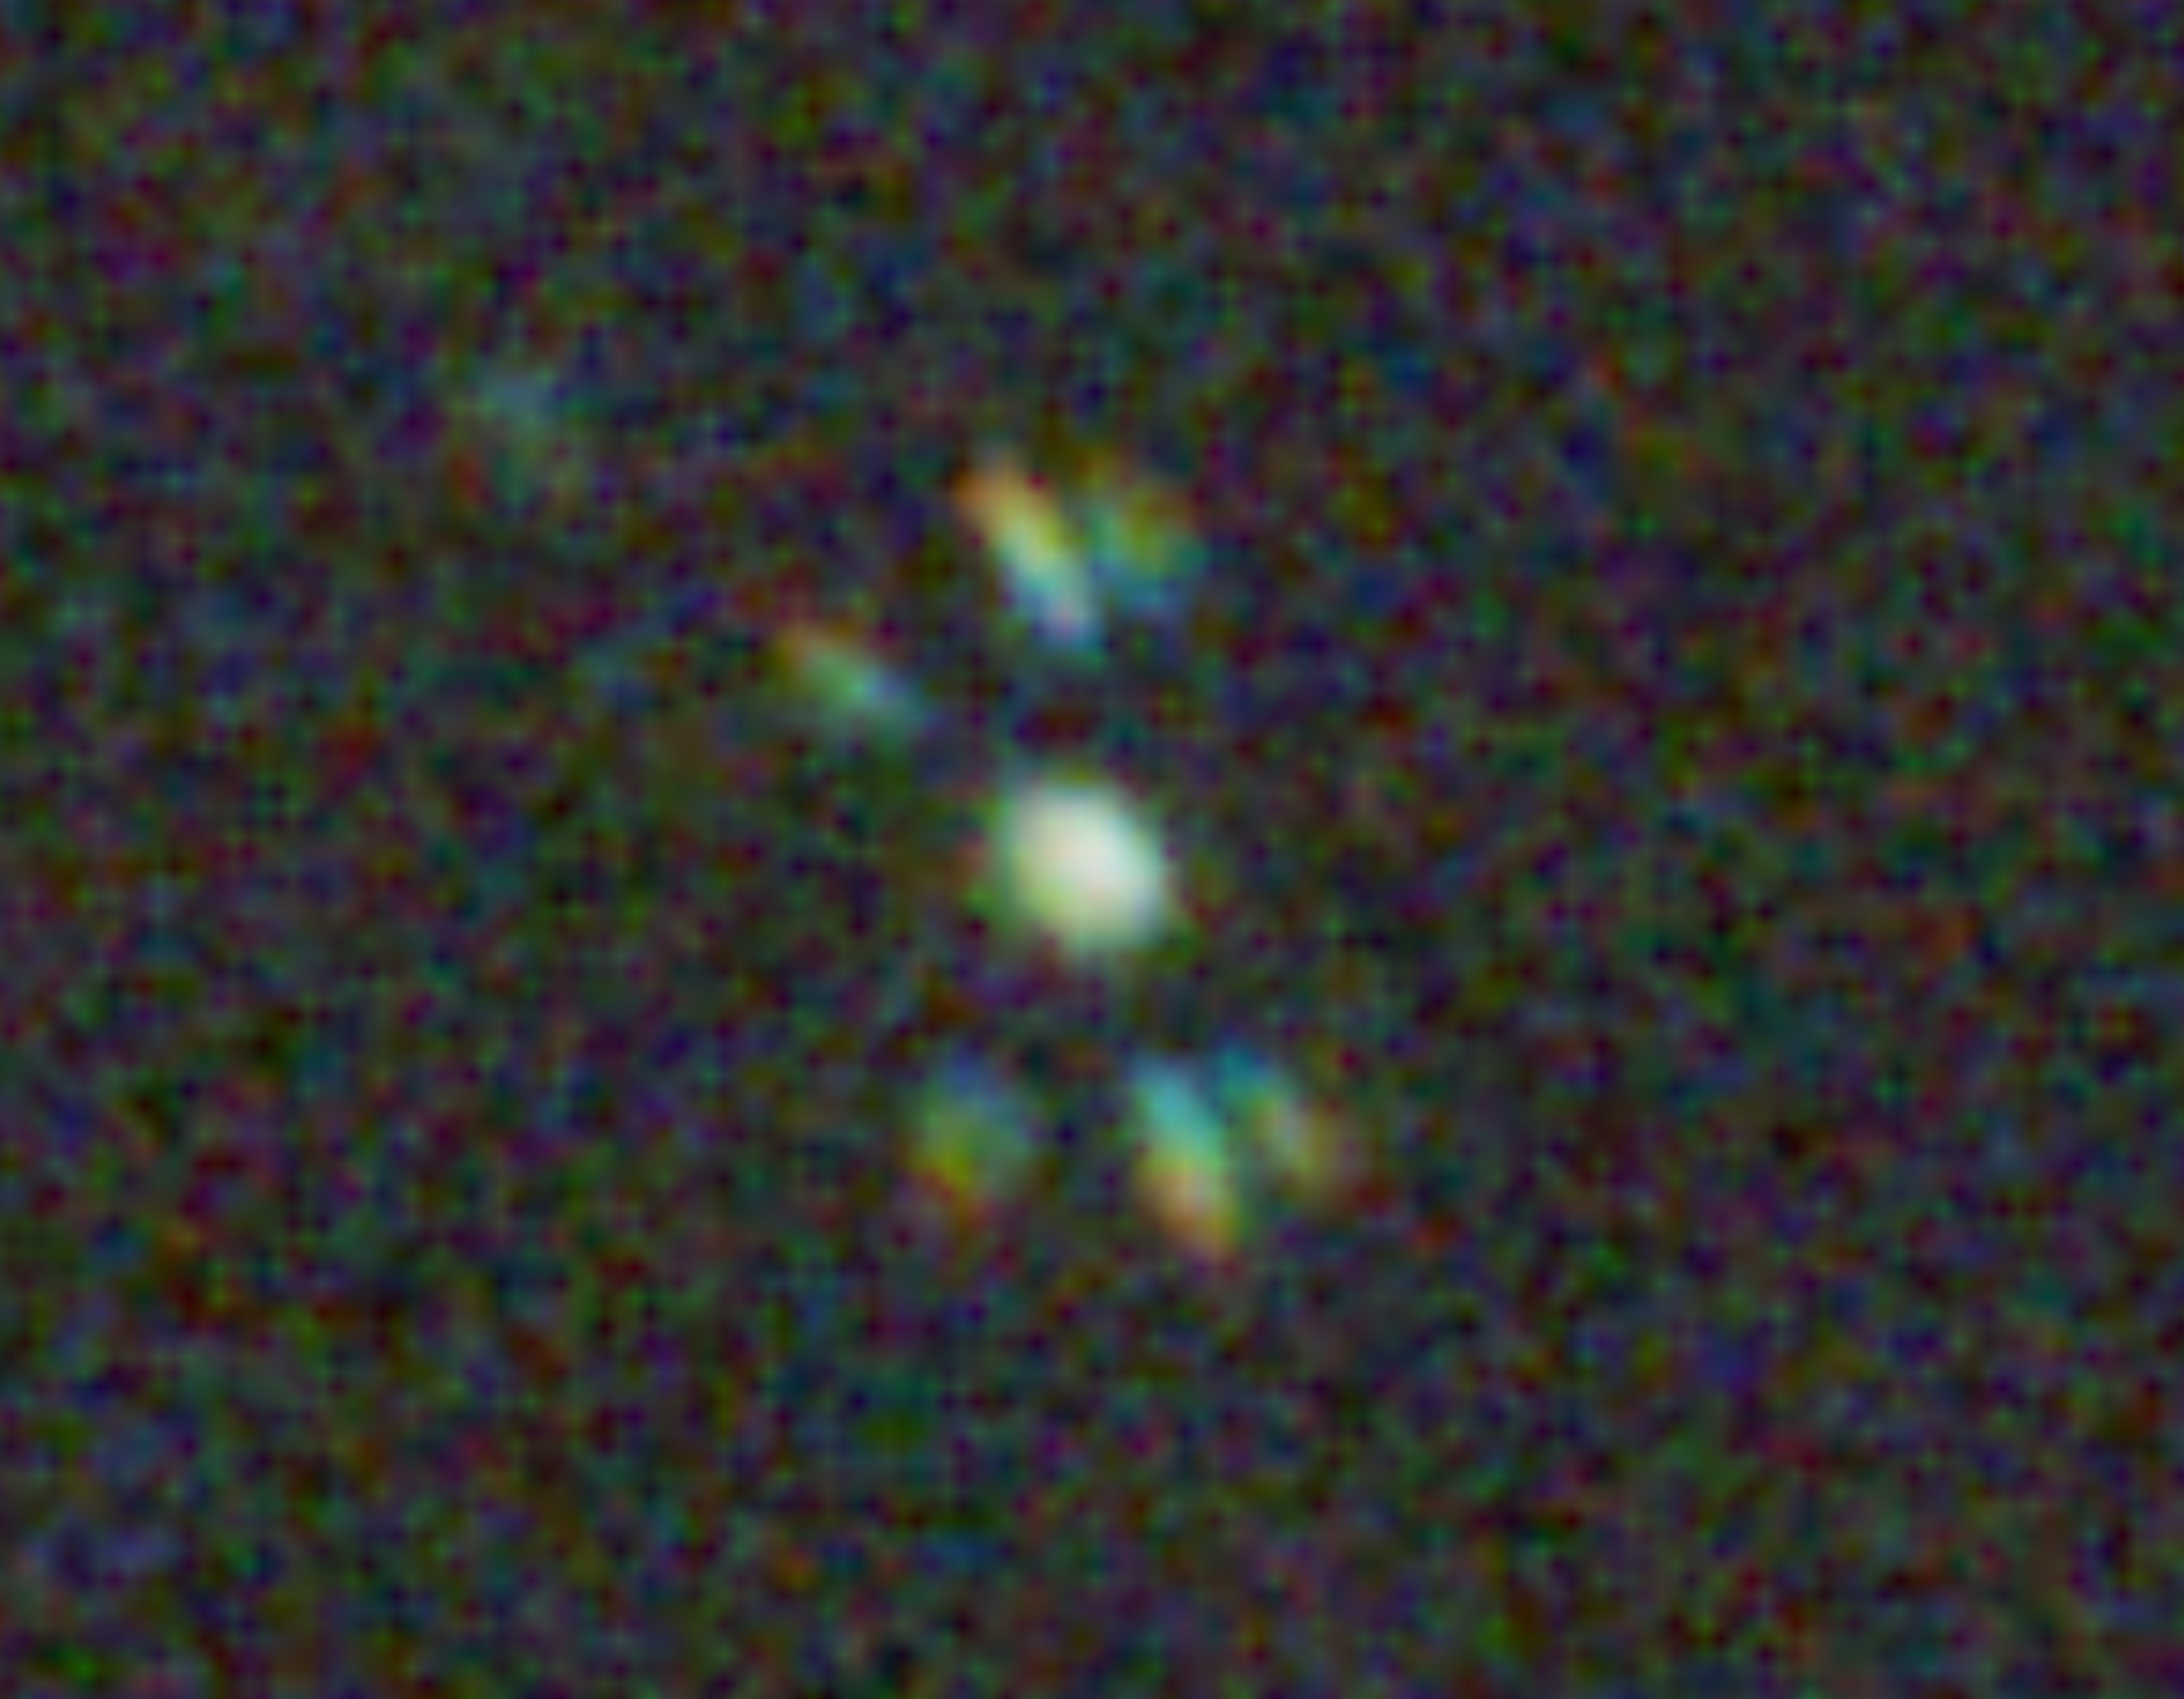
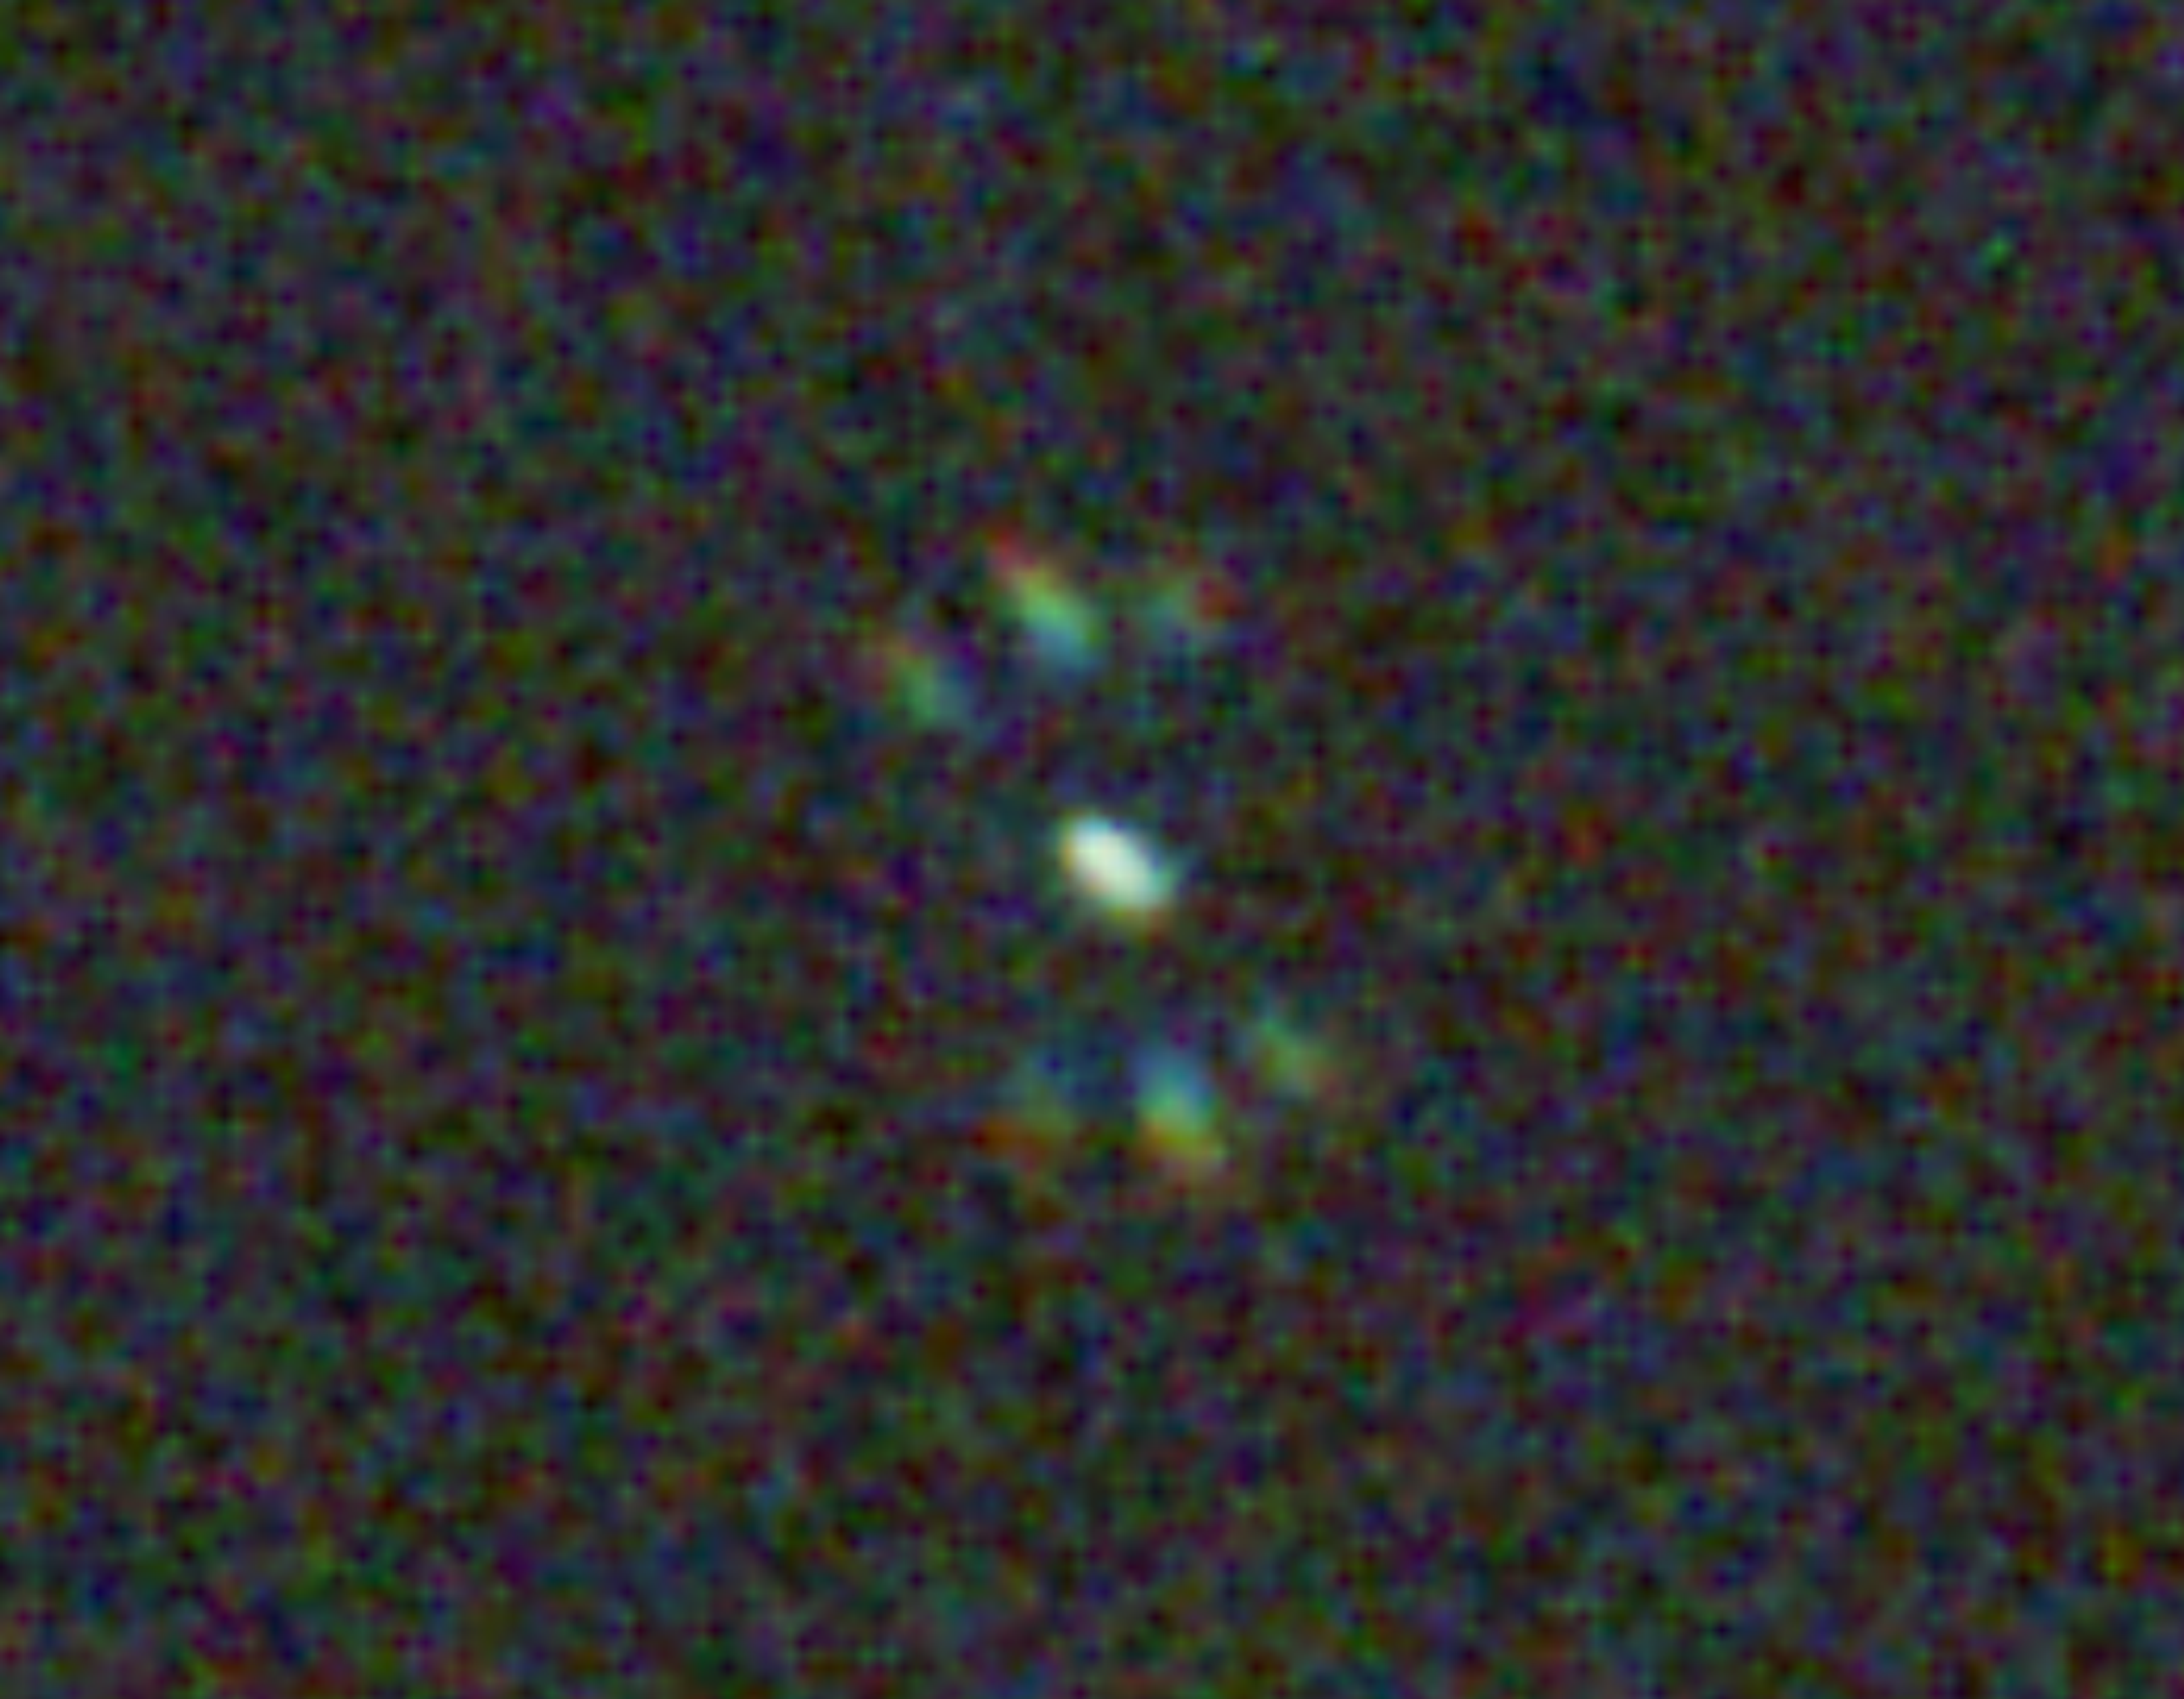
Through the eyepiece or on a live-stacking screen, a bright star behind the mask shows three spikes: one straight line, and two more crossing it in a shallow X. As focus changes, the X slides sideways relative to the straight spike. When the X is exactly bisected by the straight line, you're at critical focus — not close, exact.
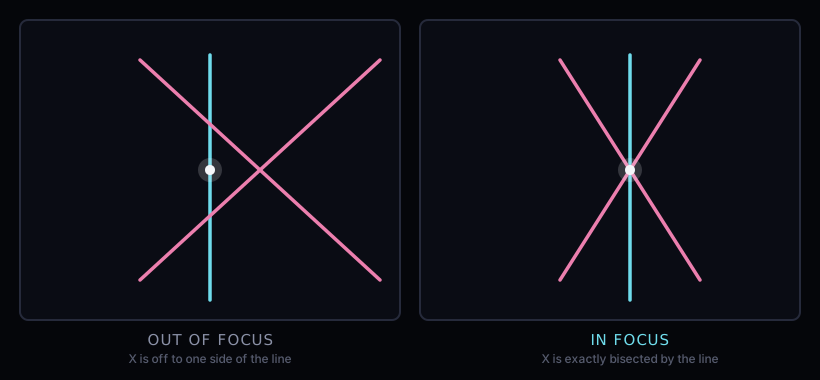
Real examples, from one of my own sessions — a live-stacking preview frame, not a processed exposure, so it's noisier than the diagram above. The pattern still reads once you know what to look for.
Using one in practice
- Point at a moderately bright star, roughly the same altitude as your actual target
- Fit the mask over the full aperture — it needs to cover the whole opening to work
- Zoom in on the star in your capture software and nudge focus until the X sits exactly on the straight spike
- On a touchscreen app like ASIAIR, pinch to zoom in on the live view first — the spikes are easy to misjudge at the default preview size
- Remove the mask before you start imaging — it's a focusing aid, not something to shoot through
Where it fits with this setup
The Seestar S50 focuses and plate-solves on its own, so a Bahtinov mask never comes into it. It's the manual rig — the Nikon D5300 through the Askar 71F — where this actually earns its place: no autofocus routine to lean on, so getting focus right by eye at the start of a session matters a lot more.
Tips
- Cheap masks sized to your exact aperture work as well as expensive ones — the geometry is what matters, not the material
- Re-check focus through the night; temperature drift can shift it on a refractor more than you'd expect
- If the star's too dim to see a clean pattern, point at a brighter one first, then swap back to the target once focus is set
Before you start
The tool below needs four real numbers from your telescope, plus some optional print settings. Here's what each one means and where to find it — most people only ever need the first four.
Focal length
How far light travels inside your scope before it comes to a focus. It's what sets your magnification and field of view.
How to find it: Check the spec sheet, the manufacturer's website, or the scope itself — it's often printed near the focuser. If you only know the focal ratio (like f/5) and the aperture, multiply them: focal length = aperture × focal ratio.
Clear aperture
The actual width of light-gathering glass or mirror — not the tube, not a dew shield, just the optical opening itself.
How to find it: Usually the number in the scope's name — an “80mm refractor” has an 80mm aperture. For reflectors, look for “clear aperture” or “primary mirror diameter” on the spec sheet, since the tube itself is often noticeably wider than this.
Tube outer diameter
How wide the tube is at the end where the mask will actually sit. This is what the mask's mounting collar grips onto.
How to find it: Measure it directly — a tape measure or calipers wrapped around the outside of the tube opening. Don't guess here; the mask needs to fit snugly to stay on.
Rim wall width
Not a measurement of your scope — a design choice. How much solid material surrounds the mounting collar.
How to find it: Wider means a sturdier print and more plastic; narrower means lighter and quicker to print. 6mm (the default) is a sensible middle ground for most printers.
What the advanced settings do
These are print/pattern preferences, not measurements of your scope — the defaults work for most setups, so treat this as reference rather than something to fill in.
Once you've got your four numbers, use the tool below — the preview updates live as you type, and the STL downloads ready to take to a 3D printer (or a print-and-ship service, if you don't own one).
Build your own
Enter your telescope's specs to generate a Bahtinov mask sized exactly to it — download the STL and print it. Everything below runs in your browser; nothing is uploaded anywhere.
Focal ratio: f/8.8
Advanced
A slit-grating plate on top of a deep collar sized to slide over your tube, like a lens cap. Print with the open collar end down on the bed — self-supporting, no supports needed.